(1). 概述
在前面已经把Apollo搭建起来,在这一里做个简单的使用,并测试与Spring集成
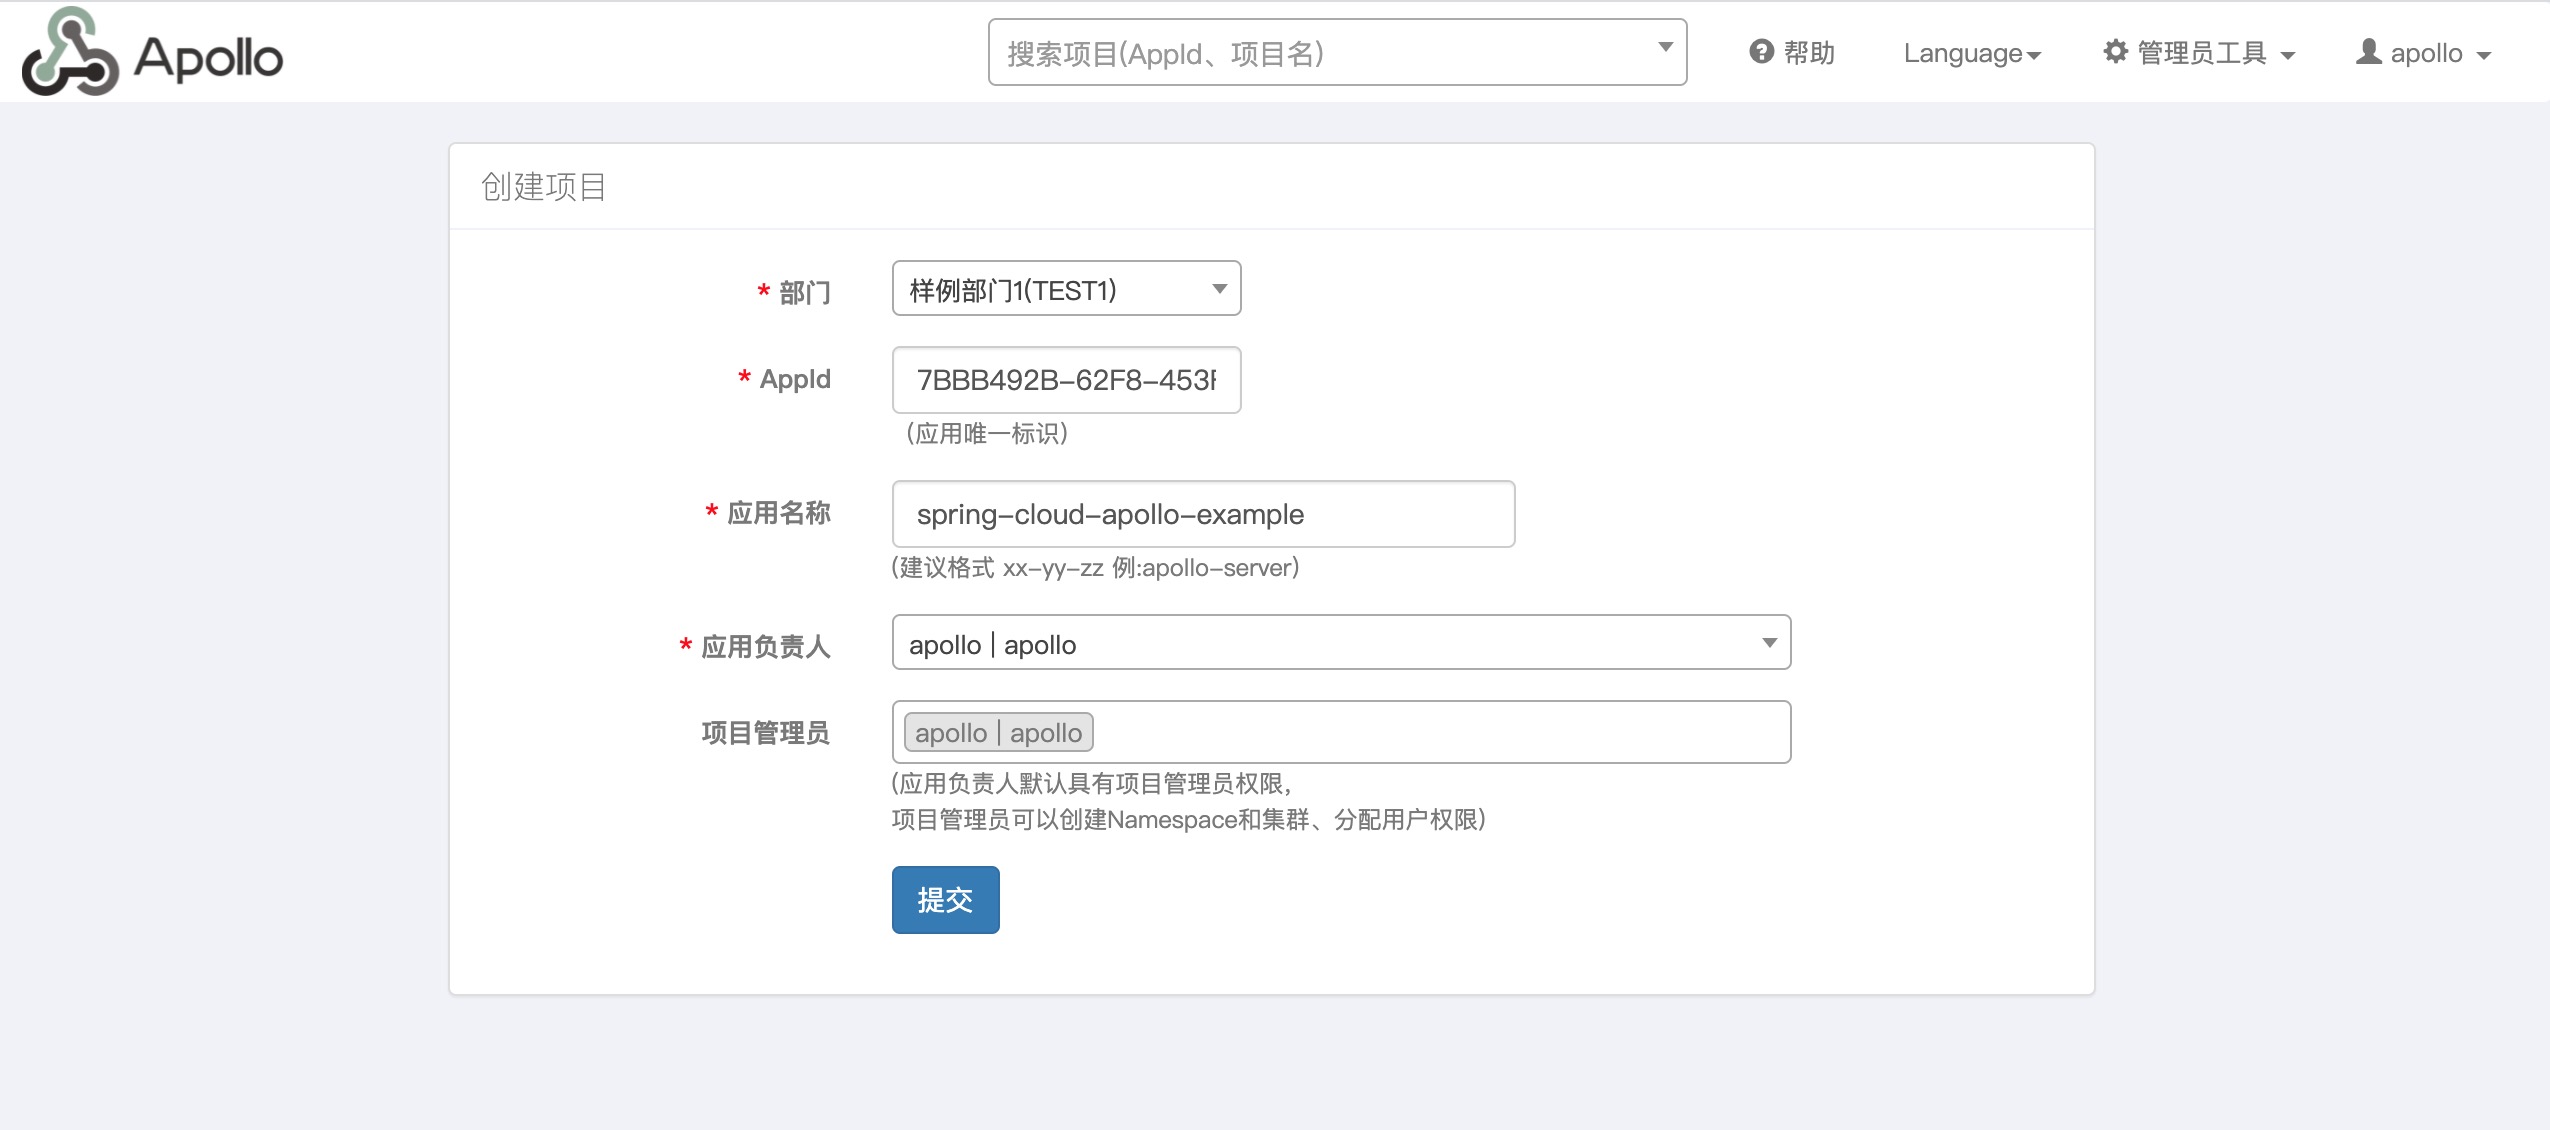
(2). Apollo创建项目
创建项目:
部门: 样例部门1(TEST1)
Appid: 7BBB492B-62F8-453F-B50B-0D568308E87A
应用程序名称: spring-cloud-apollo-example
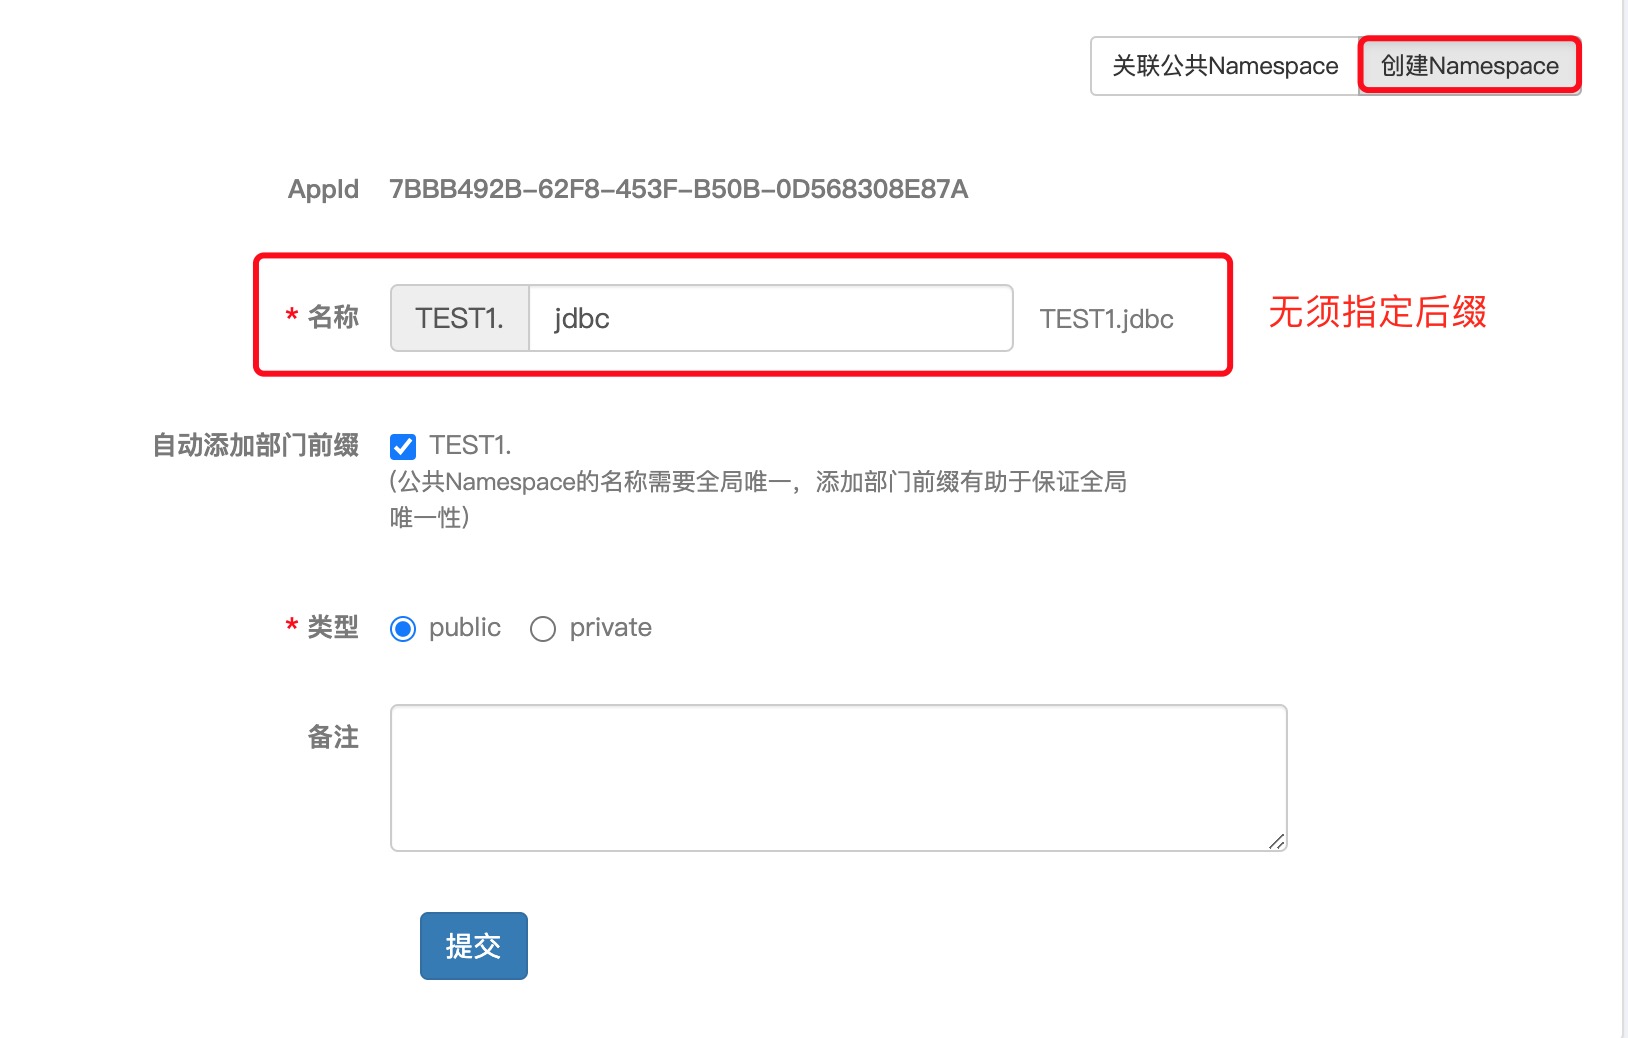
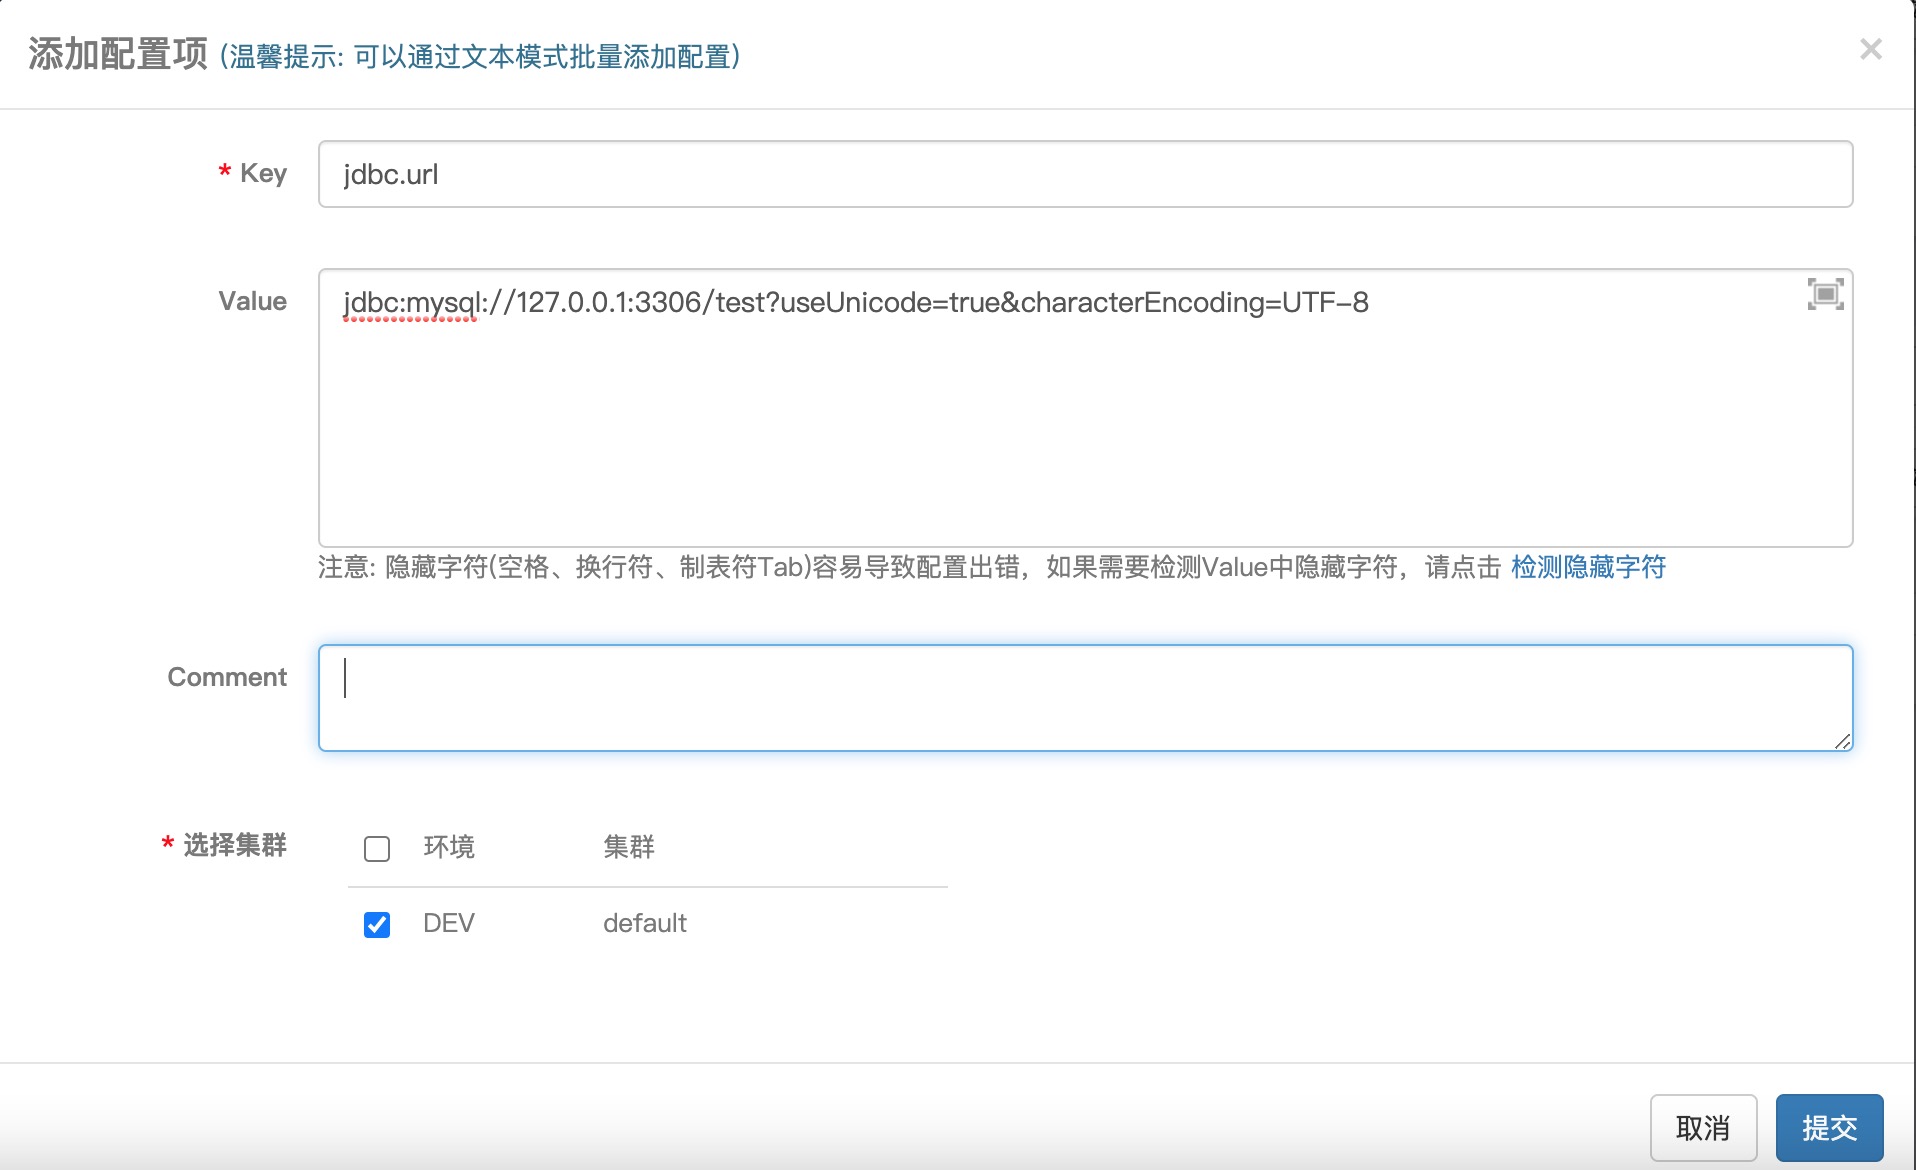
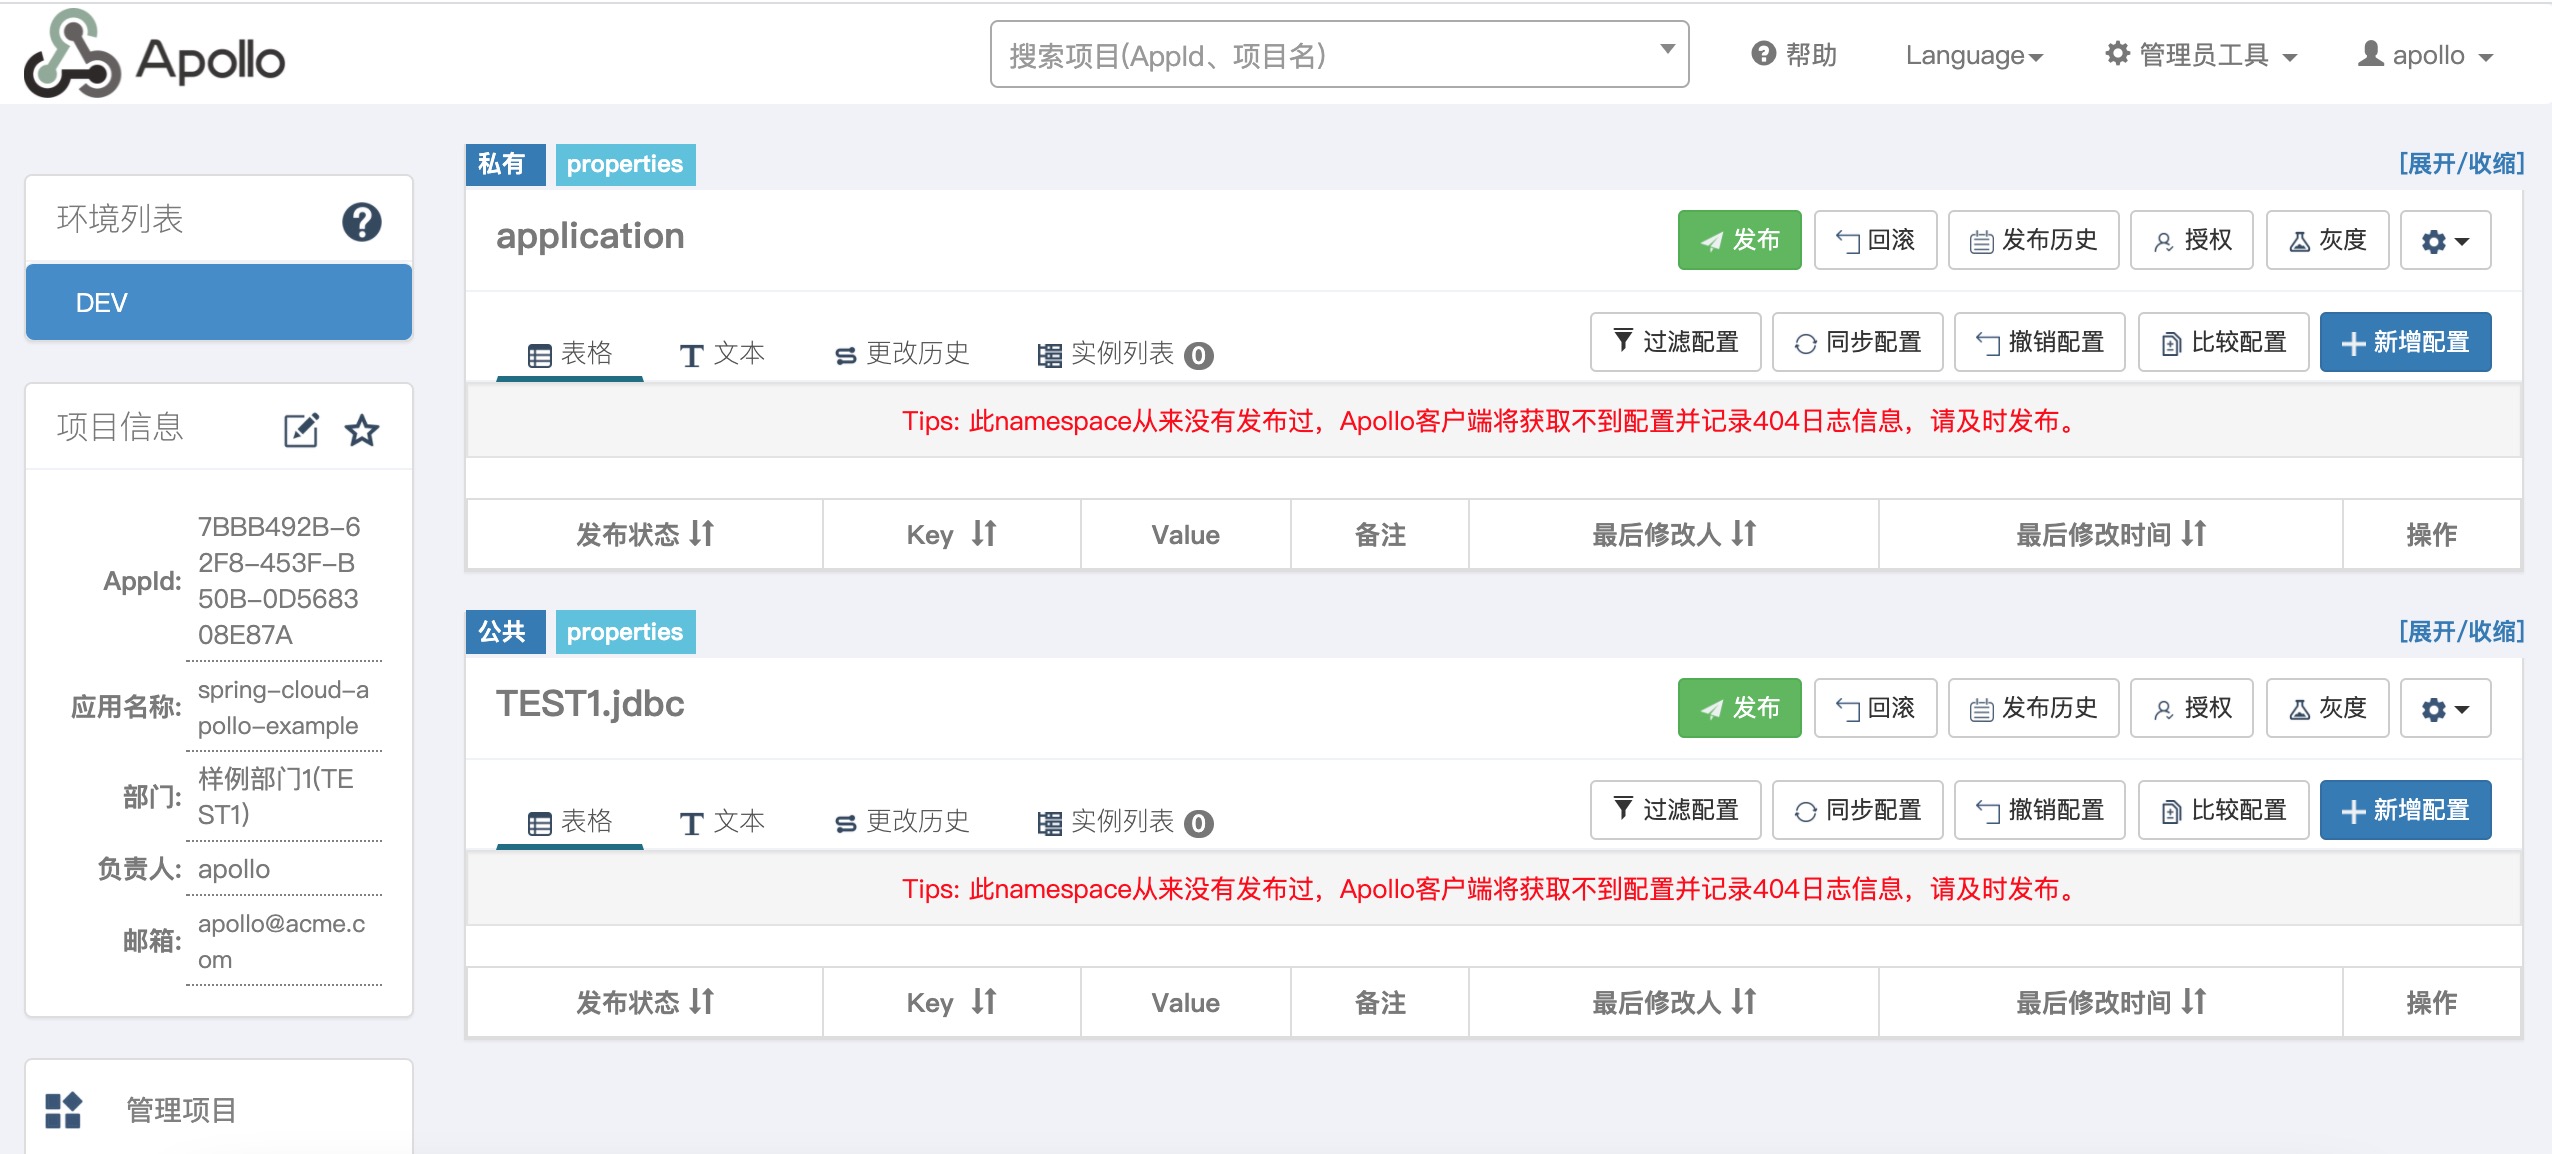
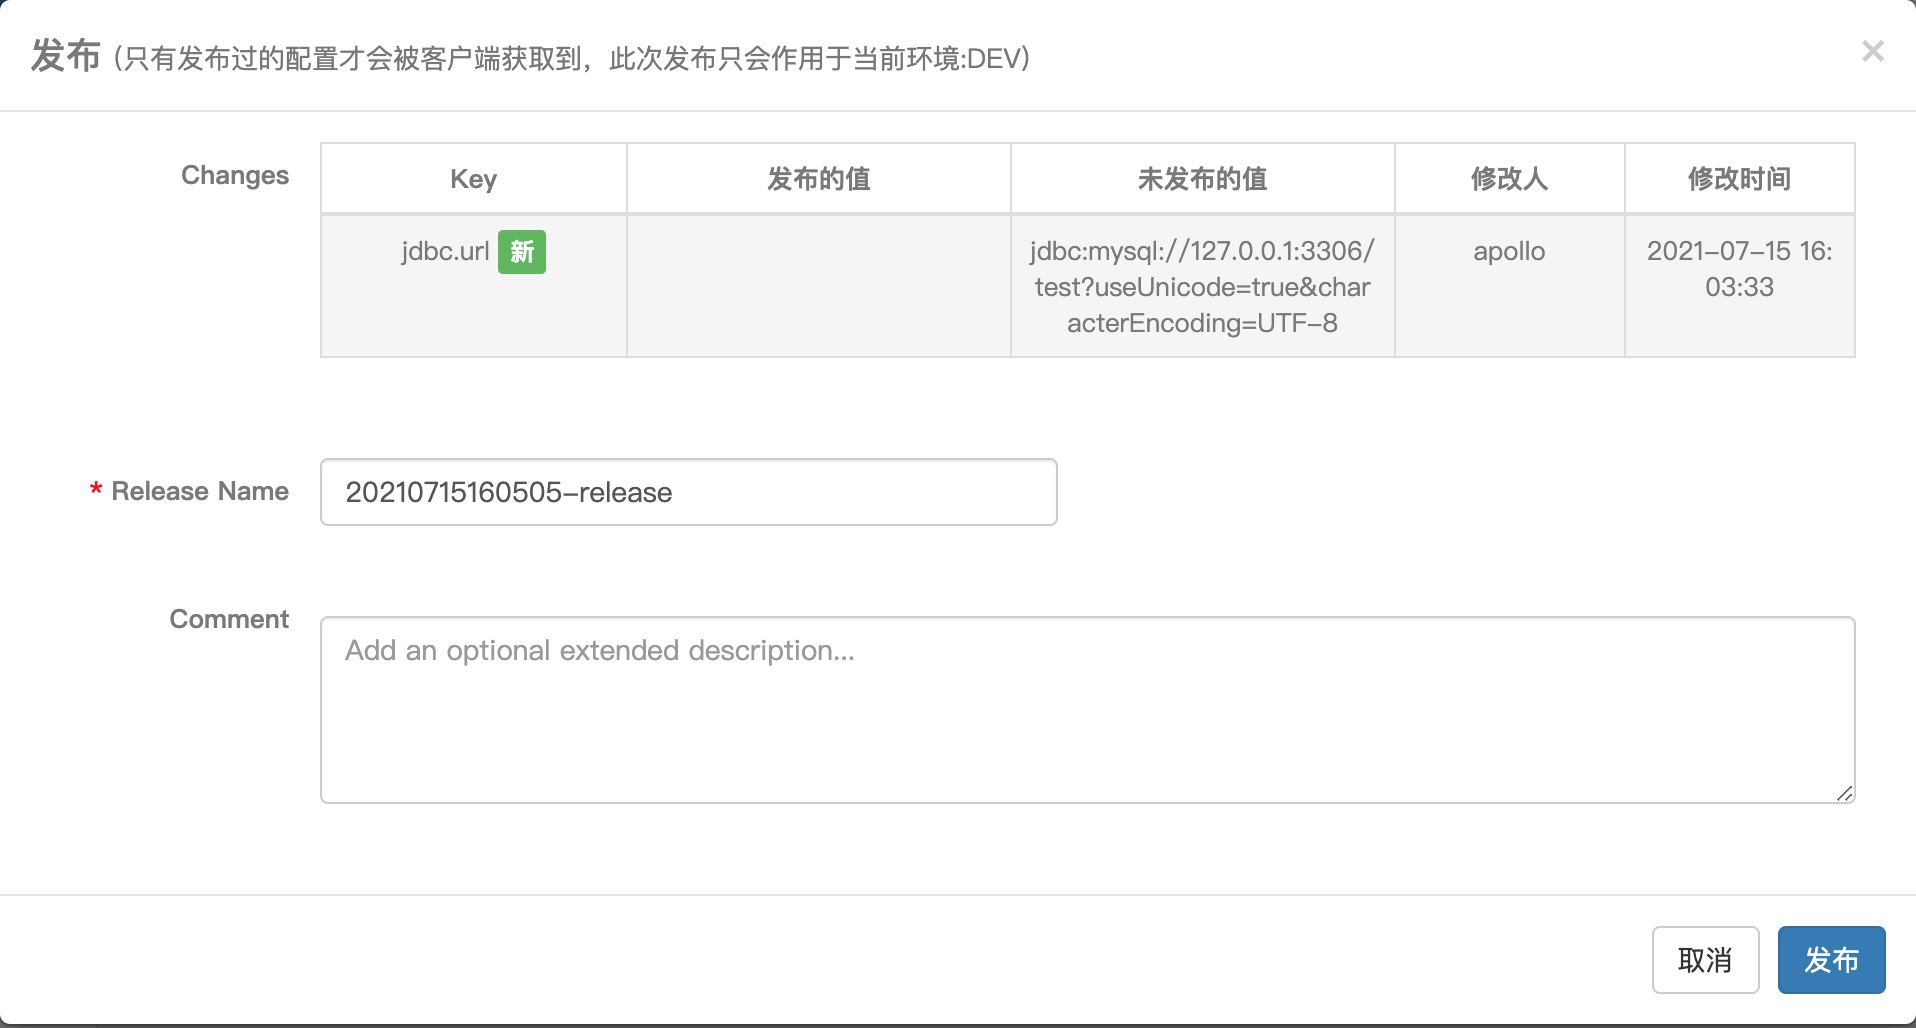
(3). Apollo创建namespace并发布配置
namespace:在前面说过namespace是多个配置文件的集合.
(4). Java集成
# 1. 添加依赖
<dependency>
	<groupId>com.ctrip.framework.apollo</groupId>
	<artifactId>apollo-client</artifactId>
	<version>1.9.0-SNAPSHOT</version>
</dependency>

# 2.java代码
package help.lixin.apollo;

import com.ctrip.framework.apollo.Config;
import com.ctrip.framework.apollo.ConfigService;

public class ApolloClientTest {
	public static void main(String[] args) {
		// 配置env
		System.getProperties().put("env", "DEV");
		System.getProperties().put("app.id", "7BBB492B-62F8-453F-B50B-0D568308E87A");
		System.getProperties().put("apollo.meta", "http://127.0.0.1:8080");

		Config config = ConfigService.getConfig("TEST1.jdbc");
		String key = "jdbc.url";
		String defaultValue = "default value";
		String value = config.getProperty(key, defaultValue);
		System.out.println("value: " + value);

	}
}

# 3. 查看输出结果
value: jdbc:mysql://127.0.0.1:3306/test?useUnicode=true&characterEncoding=UTF-8
(5). Spring Boot集成
# 1. 添加依赖
<dependency>
	<groupId>org.springframework.boot</groupId>
	<artifactId>spring-boot-starter-web</artifactId>
</dependency>
<dependency>
	<groupId>com.ctrip.framework.apollo</groupId>
	<artifactId>apollo-client</artifactId>
	<version>1.9.0-SNAPSHOT</version>
</dependency>
<dependency>
	<groupId>org.springframework.boot</groupId>
	<artifactId>spring-boot-starter-test</artifactId>
	<scope>test</scope>
</dependency>

# 2. 配置属性bean
package help.lixin.properties;

import org.springframework.boot.context.properties.ConfigurationProperties;
import org.springframework.context.annotation.Configuration;

@Configuration
@ConfigurationProperties(prefix = "jdbc")
public class JdbcProperties {

	private String url;

	public String getUrl() {
		return url;
	}

	public void setUrl(String url) {
		this.url = url;
	}
}


# 3. 启用注解:@EnableApolloConfig
package help.lixin;

import org.springframework.boot.SpringApplication;
import org.springframework.boot.autoconfigure.SpringBootApplication;

import com.ctrip.framework.apollo.spring.annotation.EnableApolloConfig;

@SpringBootApplication
// 也可以通过配置指定:apollo.bootstrap.namespaces = application,TEST1.jdbc
@EnableApolloConfig({ "TEST1.jdbc", "application" })
public class App {
	public static void main(String[] args) throws Exception {
		SpringApplication.run(App.class, args);
	}
}


# Apollo压根就不需要:@RefreshScope的参与,它自己内部实现了一套热更新配置
# 可以参考我以前的文章,Apollo的做法和我上家公司的做法一样,收集Bean上的@Value,然后,反射更新
# 4. Controller
@RestController
public class HelloController {
	private Logger logger = LoggerFactory.getLogger(HelloController.class);

	@Autowired
	private IHelloService helloService;

    // 2. 通过@Value配置
	@Value("${jdbc.url}")
	private String url;

    // 3. 通过属性来配置的,发现不会发生变化
	@Autowired
	private JdbcProperties jdbcProperties;

	@GetMapping("/test")
	public String test() {
		System.out.println(this + " url:" + url);
		return jdbcProperties.getUrl();
	}
}

# 5. application.properties(bootstrap.properties)
server.port=9999
spring.application.name=test-provider

env=DEV
app.id=7BBB492B-62F8-453F-B50B-0D568308E87A
apollo.meta=http://127.0.0.1:8080
apollo.cacheDir=/tmp/data/
#apollo.accesskey.secret=1cf998c4e2ad4704b45a98a509d15719

# 将Apollo配置加载提到初始化日志系统之前
apollo.bootstrap.eagerLoad.enabled=true

# 注入默认application namespace的配置
# apollo.bootstrap.enabled=true

# 注入非默认application namespace或多个namespace的配置示例(需要与apollo.bootstrap.enabled搭配使用)
# apollo.bootstrap.namespaces=application,TEST1.jdbc
(6). 总结
在这里,对Apollo进行了一个简单的入门,当配置有更新时,Apollo会热更新Bean,这种热更新与Spring提供的:@RefreshScope没有任何关系.
Apollo完全自己写了一套热更新(反射),所以,在热更新时,你会发现Bean的实例并没有变化,后面会剖析热更新源码了.